
Are you making a game that needs a hammer? In this tutorial, learn all about how to get a hammer up and running in a Unity 3D virtual reality game!
Tweet
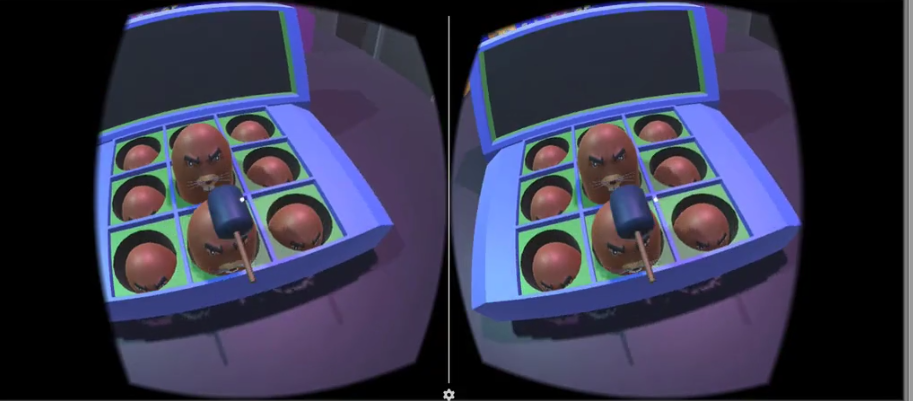
The best way to learn is through example. We’re going to use a 3D Whackamole game prototype to show you how to add a hammer to your game.
In this tutorial:
- Step 1: Adding the Hammer Asset
- Step 2: Writing the Hammer Code
- The Lerp() Method
- Step 3: Connecting the Player and Hammer
- Step 4: Connecting the Scripts to Game Objects
- Step 5: Centering the Hammer
Setup
To follow along, you’re going to need a Unity project open with a player and objects. If you need help setting up your Unity project, go to our post How to Build a Unity Virtual Reality Game.
You’re also going to need a hammer art asset. You can either make a primitive hammer in Unity, make a hammer yourself using an online course, or download a hammer from the Unity Asset Store.
We’re using Unity v5.4.3f1. If you’re using a different version of Unity and find an incompatibility, drop us a comment down below with your question.
Step 1: Adding the Hammer Asset
Create an empty game object in the Hierarchy. Name the object “Hammer”.
Drag and drop your Hammer art asset from the Assets folder to the Hammer game object.
Scale down the Hammer asset to the Scale values of approximately 8.6 8.6 8.6. Move it to the position 0 0 0.
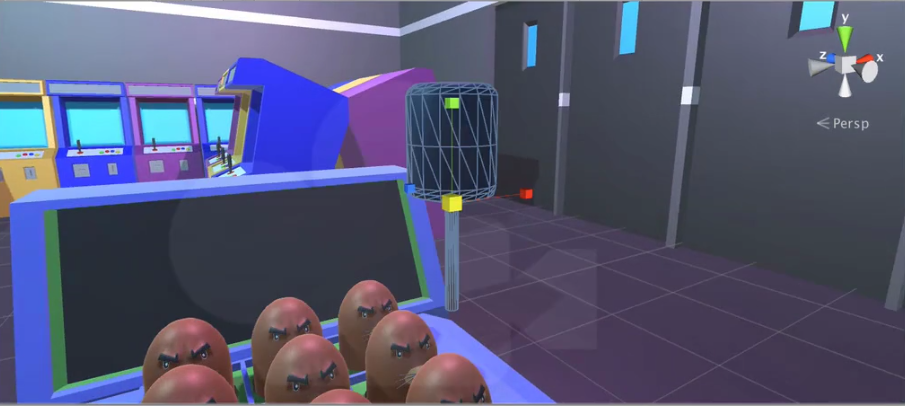
Move the Hammer object in front of the object you’ll be hitting with the hammer. In our case, this is a Whackamole machine.
To position Hammer more easily, open the Game window instead of the Scene window. Change Hammer’s X Rotation to 90.
Give Hammer the approximate position 2.5 1.3 -2.5. Hammer will initially be in this position. When we touch a mole, we will have Hammer hit the mole and then move back to its initial position.
Step 2: Writing the Hammer Code
Create a C# script in Assets. Name the script “Hammer”. Double-click on the script to open it.
In the Hammer class, create the following variable, which will keep track of Hammer’s initial position.
private Vector3 initialPosition;
In the Start method, set initialPosition to contain Hammer’s Position values. We do this by using the transform keyword to access Hammer’s Transform component in the Inspector. Then we use the keyword position to get the Position property.
//Use this for initialization. Start () { initialPosition = transform.position; }
Below the Start method, create the Hit method. As the method’s parameter, pass the position to where Hammer will move.
public void Hit (Vector3 targetPosition){ }
Use the following code to move Hammer to targetPosition. We do this by once again accessing Hammer’s Position property in the Transform component. And we change that position’s value to the new value of targetPosition.
public void Hit (Vector3 targetPosition){ transform.position = targetPosition; }
The Lerp() Method
In the Update method, call the Lerp method with the following parameters to move Hammer.
Making a Lerp is a linear interpolation. It is like we are making an animation that is going from the Hammer’s current position to targetPosition.
//Update is called once per frame. public void Update(){ transform.position = Vector3.Lerp(transform.position, initialPosition, time.deltaTime); }
- The first parameter of Lerp, transform.position, is Hammer’s source position.
- The second parameter, initialPosition, is the Hammer’s destination position (after hitting.)
- The hammer will move from transform.position to initialPosition in Time.deltaTime.
Save the script.
Step 3: Connecting the Player and Hammer
We now need to connect the hammer with the player that is using the hammer. Open the Player script, Player.cs.
In this script, we need to create a reference to Hammer because the player will call the Hit method of Hammer. Declare a variable named hammer of type Hammer. Remember that each time we create a class, we create an object type we can use.
public class Player : MonoBehaviour { public int score = 0; public Hammer hammer; ... }
In the Update method, when Player hits a mole, use the hammer keyword to access the hammer object. Then call the Hit method of the Hammer class.
As the method’s parameter, pass mole.transform.position. This is the position to where Hammer will move.
// Update is called once per frame void Update () { if (GvrViewer.Instance.Triggered || Input.GetKeyDown("space")) { RaycastHit hit; if (Physics.Raycast(transform.position, transform.forward, out hit)) { if (hit.transform.GetComponent<Mole> () != null) { Mole mole = hit.transform.GetComponent<Mole> (); mole.OnHit (); hammer.Hit (mole.transform.position); score++; } } } }
Step 4: Connecting the Scripts to Game Objects
Save the script, and open Unity.
Select the Hammer game object. Drag and drop the Hammer script to the Inspector, to connect the Hammer class with the hammer object.
Select Player. Drag the Hammer game object to the Hammer field in the Player (Script) component in the player’s Inspector.
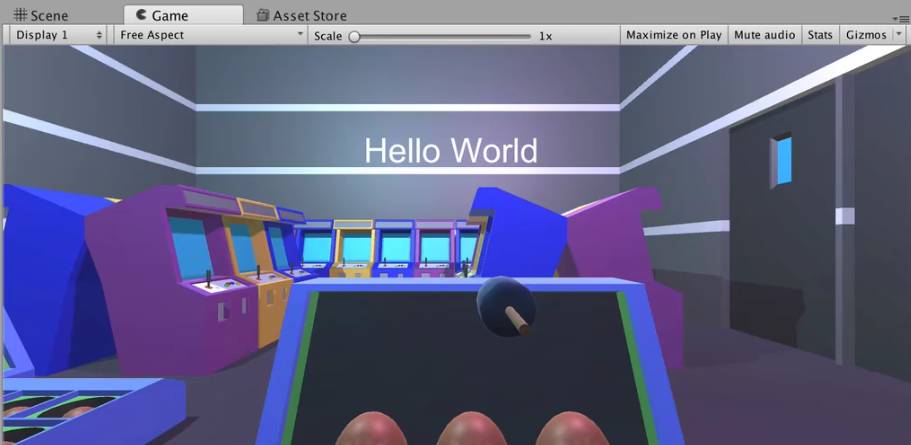
Press Play to test out our code. When you touch a mole, the hammer will move to the mole. That means success!

Step 5: Centering the Hammer
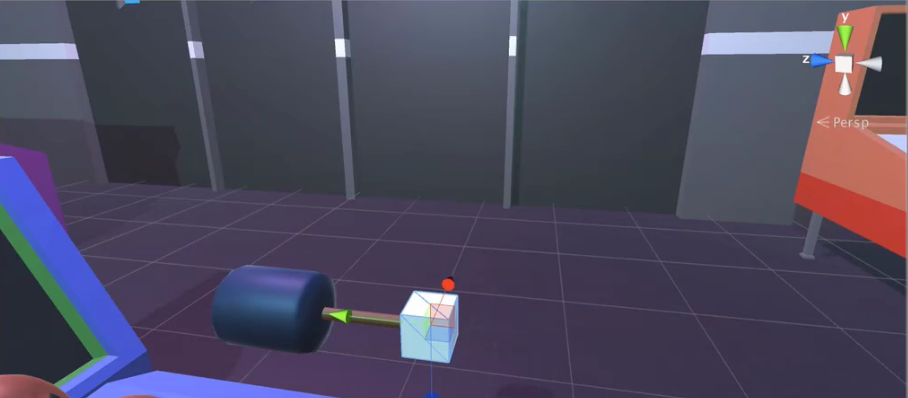
You may notice that the hammer hits a bit off-center. To see why this occurs, stop playing the scene.
Create a cube in the Hammer object. Scale Cube down to 0.1 0.1 0.1. You can see that the origin of the Hammer model is at the bottom of its handle.
To center the hammer, move the Hammer asset to a Y position of -0.35. The hammer’s head will now be at the hammer’s origin.
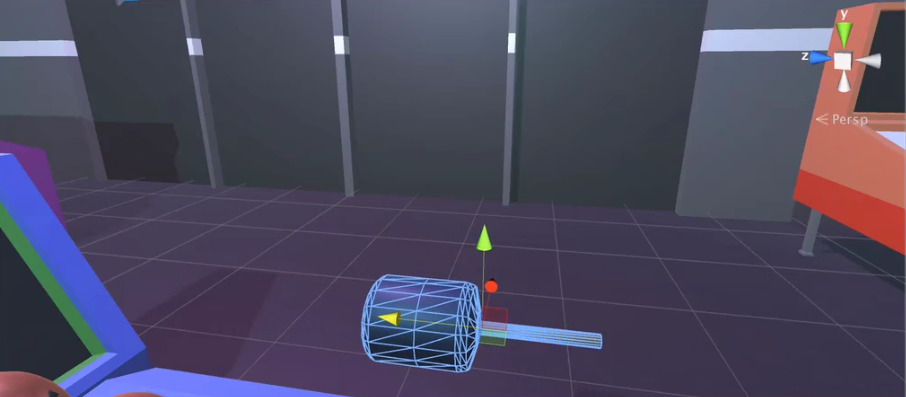
Delete Cube. Press Play. The hammer head will now hit the object on its center.
Review
- Step 1: Adding the Hammer Asset
- Step 2: Writing the Hammer Code
- The Lerp() Method
- Step 3: Connecting the Player and Hammer
- Step 4: Connecting the Scripts to Game Objects
- Step 5: Centering the Hammer
—Team Mammoth from Mammoth Interactive INC. Tutorial by Glauco Pires and Transcribing by Alexandra Kropova
What tutorials do you want to see next? Drop a comment below.